
You probably have a t-shirt quilt in your stack of blankets. Maybe it was made by a loving aunt for your high school graduation? My guess is that it is a twin-size quilt with the front of 20 t-shirts from activities you participated in held together by sashing in your high school's colors. I'm sure you love this quilt and appreciate the effort which went into it, but let's be real - you're not holding onto it for its beauty.
I'm now knee-deep in babies. With a 3 year old and 1 year old, I'm simultaneously wishing for them to become independent and deeply nostalgic for 6 months ago. And I'm utterly buried in precious, sentimental clothes. There has to be a way to make a beautiful, high-quality keepsake from these cloths.
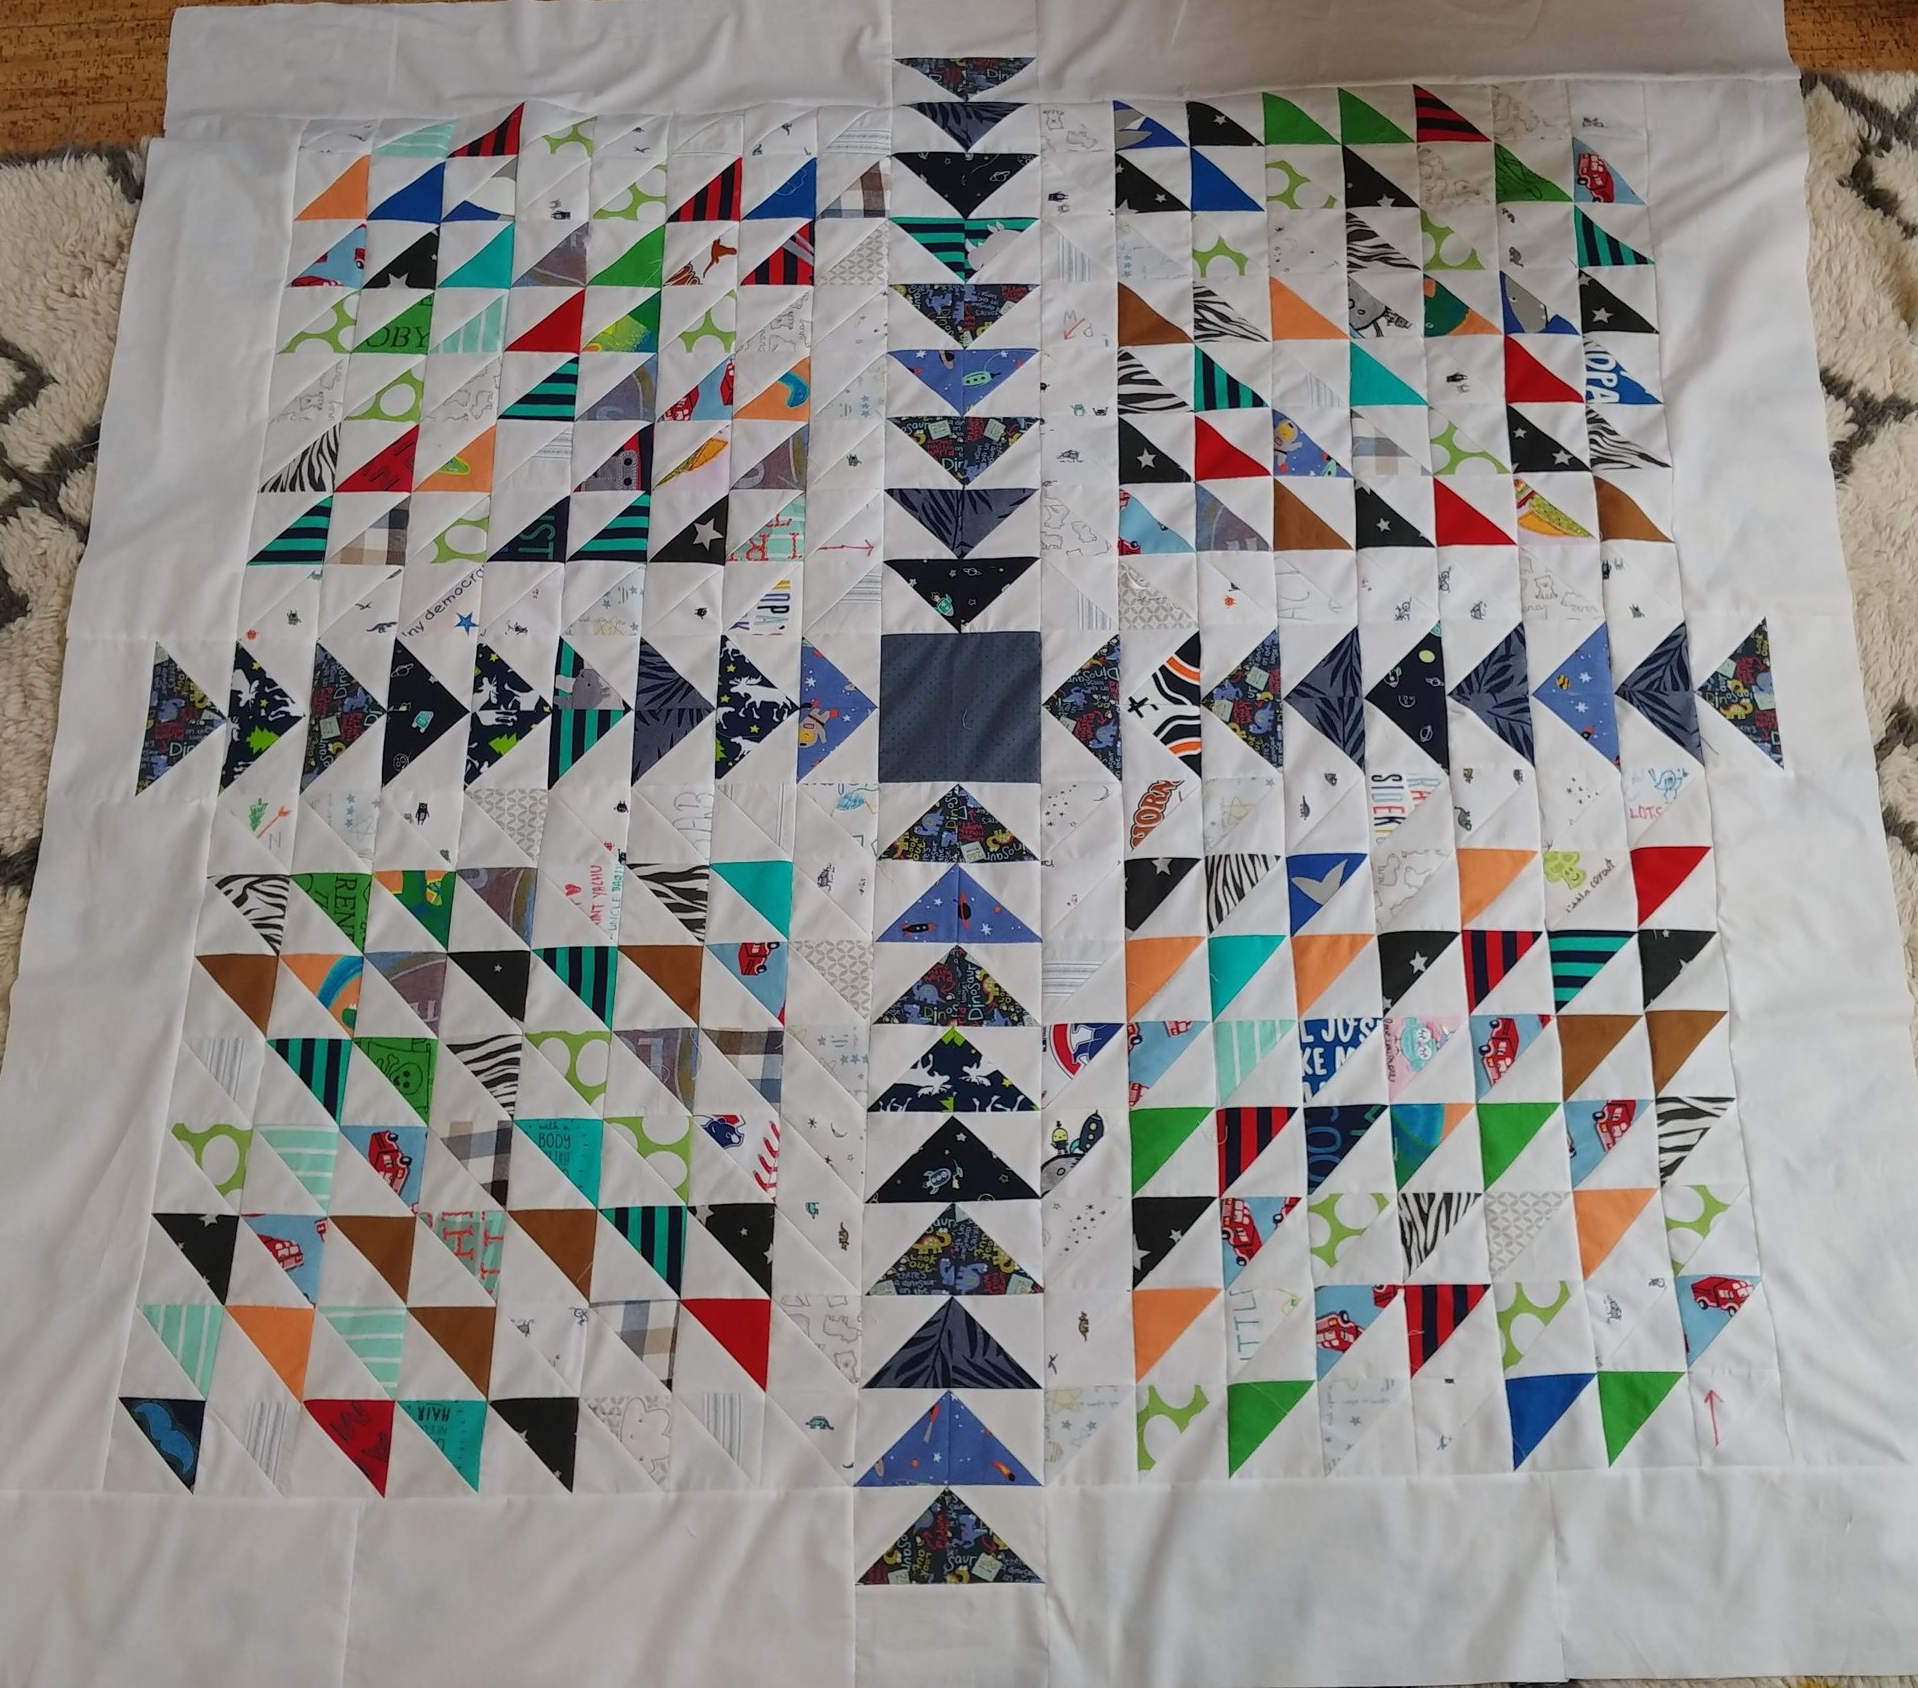
Modern quilt top made with baby clothes.
What makes a quilt design "modern"?
There is no one answer to what encapsulates modern quilting, but to me, modern quilt designs share a few characteristics: a lot of white-space, a lack of borders, and fabric selection.
White space: Using a solid-colored back ground gives your quilt blocks room to breath. Don't be afraid to have larger areas of just background color. I, personally, like to use white as my background, which I think gives a crisp, clean look.
Lack of borders: The quilts of the '90s often have multiple, ornate borders. Modern quilts often repeat their pattern all the way to binding or have a border of the background color.
Fabric selection: Many modern quilts use brighter colors than traditional quilts, and patterns tend to be simple. When you're making a memory quilt, your fabric selection is predetermined by the clothing you are using.
Every quilter will tell you different things make quilts modern, so in this and in all of life, you do you.
Skills needed
I'm going to shoot you straight - This should not be your first quilt. Or second. You want to have a firm grasp on the basics of making a quilt before attempting to make something from clothing. The materials used in clothing can be difficult to work with and you will have to do troubleshooting.
Scared yet?
I recommend having a firm grasp on these skills:
- Knowledge of your sewing machine, especially adjusting tension
- Cutting fabric
- Ripping seams without damaging fabric
- Piecing
- Selecting a pattern to match your abilities - I recommend looking at scrap quilt patterns
- Modifying a pattern - you may need to do this if things don't go to plan
Overall tips
The fabric used to make clothing is far lower quality than quilting cotton. This can make working with it more difficult and effect the longevity of your quilt.
Here are some tricks for a successful project:
- Plan ahead. Pull out the outfits that are especially special or which have motifs you definitely want to include. Work with these last to make the likelihood of mistakes as small as possible.
- Expect to have a lot of waste and errors. Make 10% more blocks than you think you need. It is very hard to tear out mistakes on jersey (t-shirt fabric) without stretching and damaging the fabric. It's much easier to replace the blocks.
- Use quilting cotton as your background. I recommend at least 50% of the fabric of the quilt top being quilting cotton. Not only does this add to the modern look, but the quilting cotton adds strength to your quilt top. It is also much easier to sew jersey to quilting cotton than to another piece of jersey.
- Use high-quality fabric for the backing. It's tempting to save money on backing fabric, but a t-shirt quilt benefits from the extra stability a good quality backing fabric provides.
- A walking foot can reduce stretching. I highly recommend using one, especially if the quilt is not paper pieced.
- Paper piecing gives your project a lot of reinforcement and precision during the piecing process and is a good option for t-shirt quilts.
- When quilting the quilt together, make your stitching more dense than you typically would. This is another way to add stability and strength to the quilt so that it lasts.

Fussy cutting can add a lot of character to your blocks.
Choosing fabrics
How many outfits you need varies widely, based on both the pattern chosen and how much of the clothing is usable. As a rule of thumb, I have found that a paper grocery bag full of outfits is enough to make a throw quilt (~60 x 60").
Woven
In children's clothes, I see wovens most often as button up shirts and dresses, especially plaids. You can see thread running perpendicular to each other (the warp and weft). Light-weight cotton, linen, and poly blend woven fabrics are great to work with, but heavier materials, such as would be used for a coat, should be avoided.
Characteristics:
- Does not stretch
- Can be cut without additional prep
- Cottons and linens can handle a hot iron, test a scrap to check that the fabrics don't melt
Jersey
Most children's clothing is jersey - onesies, t-shirts, many dresses. If it's really stretchy, it's probably jersey.
- You need to put interfacing on the back of all jersey before cutting. I use Pellon P44F Fusible Interfacing because it's inexpensive and comes on a large roll, but there are plenty of other options out there.
- Very stretchy - be careful when aligning seams. Pin every seam intersection.
- Often lower quality - use a lot of other high-quality quilting cotton to add strength to your quilt
- Work with your most precious items last
- Highly recommend using walking foot

A walking foot is helpful for working with stretchy fabrics and thick seams.
Fabrics to avoid
You want your quilt to have fabrics that are somewhat similar in feel. I recommend avoiding knits, such as sweaters, fleece, very thick or thin materials, corduroy, or fabrics that have a high acrylic content (these are likely to melt).
Decorations
Your clothes might have cute decorative areas that can be incorporated into blocks. These could be very ornate, like ruffles, bows, lace, etc. But don't over look simple things. Buttons, pockets, seams, and other parts of the clothes which would typically be cut away can be used to decorative effect. Experiment by making a few blocks, and if you don't like them, take them out before the final assembly of your quilt.
Many t-shirts have motifs on them. You might want to fussy cut around these to make sure the best parts end up in your quilt. Also, you need to cautious with an iron around motifs. Test on a scrap or you will end up with a melted image.
In my experience, embroidery can be cut and used without much extra care. The biggest challenge is that the fabric ends up being very thick there, so your machine might have more trouble feeding through your machine (a walking foot helps), and you might not be able to control which direction you press the seam.

A button on a pocket became a cute quilt detail.
Good luck on your quilt!


