
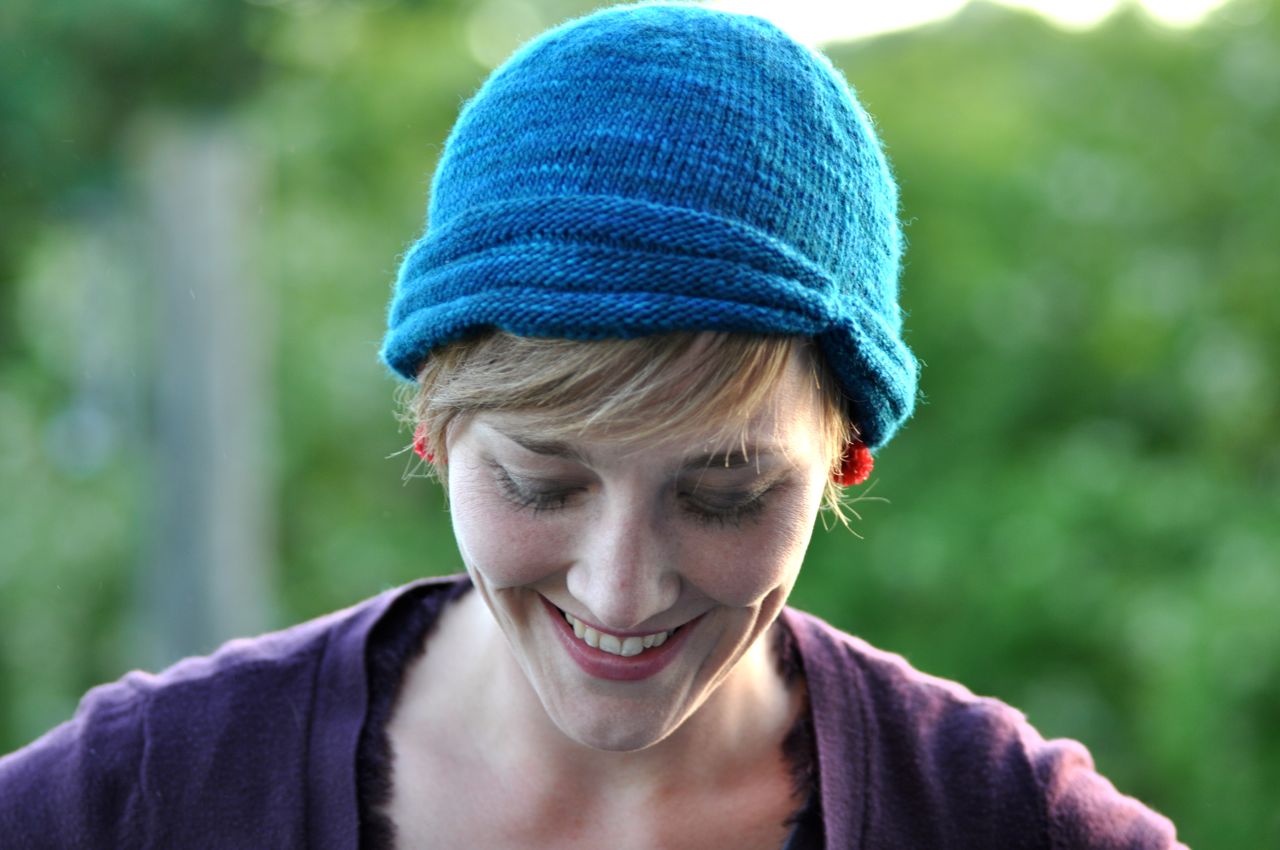
A buttonless hat.
This hat gets its name from the gorgeous blues of the tiles produced in Izmir, Turkey. The 8,000 year old city was a huge producer of striking Turkish tiles for centuries during the Ottoman Empire.
Or so I was told when I visited Turkey. The internet will only confirm with questionable resources. What I can reliably say is that Turkey remains a huge textile producer.
Supplies
36 grams (140 yards) 100% wool heavy fingering weight yarn (440 yards to 113 grams). Mine was knit using Sappho II in Salt Under the Sea.
US size 6 (4 mm) double pointed needles
Tapestry needle
Markers
Notes
K - Knit
P - Purl
PM - Place marker
M1 - Make one, using your preferred method (here are some options). I did the raised increase.
Size
23-24" head circumference (average adult female)
Gauge
24 sts per 4 inches (10 cm) in stockinette stitch knit in the round. Row gauge is not critical.
Note: this hat does not have much stretch so stitch gauge is important.
Setup
Cast on 8 sts and join to work in the round.
Next round: M1 in all sts (16 sts total)
Next round: *K2, pm*. Repeat from * to * to end of round.
Crown shaping
Round 1: *K to marker, M1, slip marker*. Repeat from * to * to end of round.
Round 2: Knit all sts, slipping markers as you come to them
Repeat rounds 1 and 2 until you have 120 sts on your needle (15 sts between each marker). Pro tip: if you don't want to check your gauge (who does?) you can put the hat on a long circ or scrap yarn and try it on. Once it's the size you need, continue on, even if your stitch count does not match 120.
Knit all sts until work measures 6" from the crown, removing markers as you come to them.

psst. your mullet is showing..
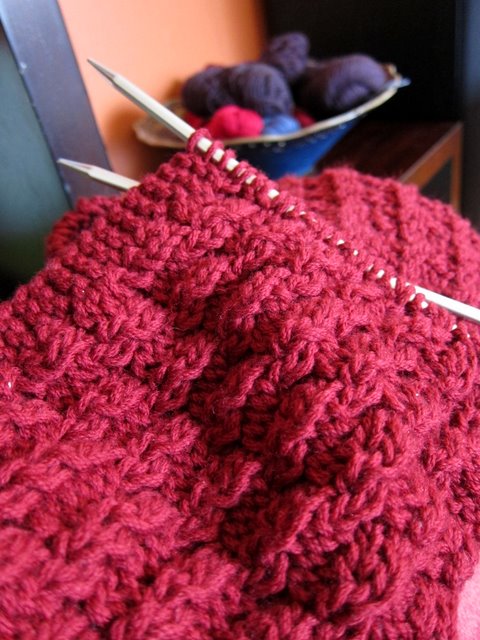
Brim
Note: if you want a clear indicator of where to wrap the yarn later, you can tie a scrap piece of yarn to the first stitch of the round.
Work the following twice:
Purl all sts for 5 rounds
Knit all sts for 3 rounds
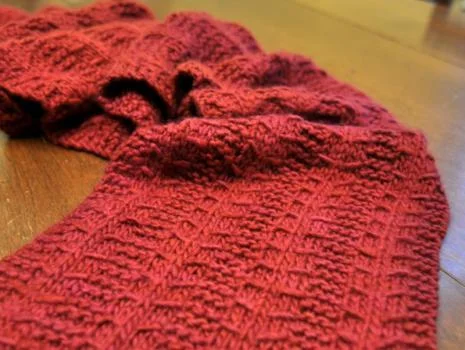
Purl all sts for 5 more rounds (3 ttl purl ridges).
Knit one round.
Bind off knit wise.
Break yarn leaving a long (~18") tail. Thread the tail onto a needle and wrap the yarn around the purl ridges. If you chose to place the scrap yarn, you will be threading the tail through the stitch marked and then around the bottom of the hat. Wrap about 10-15 times. If you want to add a button or decorative element, use the tail to attach it. If you have a marker, cut it out.
Sew closed the hole from the cast on, and weave in ends. Look like a princess in here most beautiful hat.

Pull tight when wrapping the knot.


